Spiced Apple Butter Rolls
Prep Time:15 minutes Bake Time: 24 minutes
Yield: 12
Ingredients
- 3 tubes (8 ounces each) crescent roll sheets
- 1 ½ cups apple butter, divided
Topping
- ½ cup granulated sugar
- 2 teaspoons of ground cinnamon
Equipment
- Spoon
- Measuring spoons
- Measuring cup
- Knife
- Muffin pan
Directions
Preheat the oven to 350°F. Lightly grease a standard 12-cup muffin pan. Set it aside.
Working on a lightly floured surface, roll out each tube of dough into a 12×16-inch rectangle. If using perforated crescent roll dough, be sure to pinch the seams to seal them.
Spread ½ cup of apple butter evenly over the top of each sheet of dough.
Starting on the long end of the dough sheet, tightly roll it up into a log.
Cut the log in half, creating two shorter logs.
Cut each of those shorter logs in half lengthwise, giving you four sections of dough.
Repeat these steps with the remaining two sheets of dough, resulting in 12 sections of dough.
Working with one section of dough at a time, with the layered side facing up, roll it tightly into a cinnamon roll shape, tucking in the end piece of dough.
Place each roll into the prepared muffin tin.
Bake for 22-24 minutes or until the cruffins are golden brown. Once baked, remove from baking pan and onto cooling rack to cool completely.
How To Store Apple Butter Rolls
You can store apple butter cruffins at room temperature or freeze them.
Room Temperature: After they have baked and rolled in the cinnamon and sugar mixture, store the cruffins in an airtight container. They will last up to 3 days at room temperature (but I doubt they will last that long; they are so good)!
To Freeze: If you are not going to enjoy the cruffins within three days, it’s best to freeze them. First, let them cool completely. Then, store in a freezer-safe container for up to 2 months. When ready to enjoy, let the cruffins thaw in the refrigerator overnight or at room temperature for a few hours.
![]()
EZGluten® Test Kitchen
ezglutentestkitchen@elisa-tek.com
ezgluten.com/testkitchen
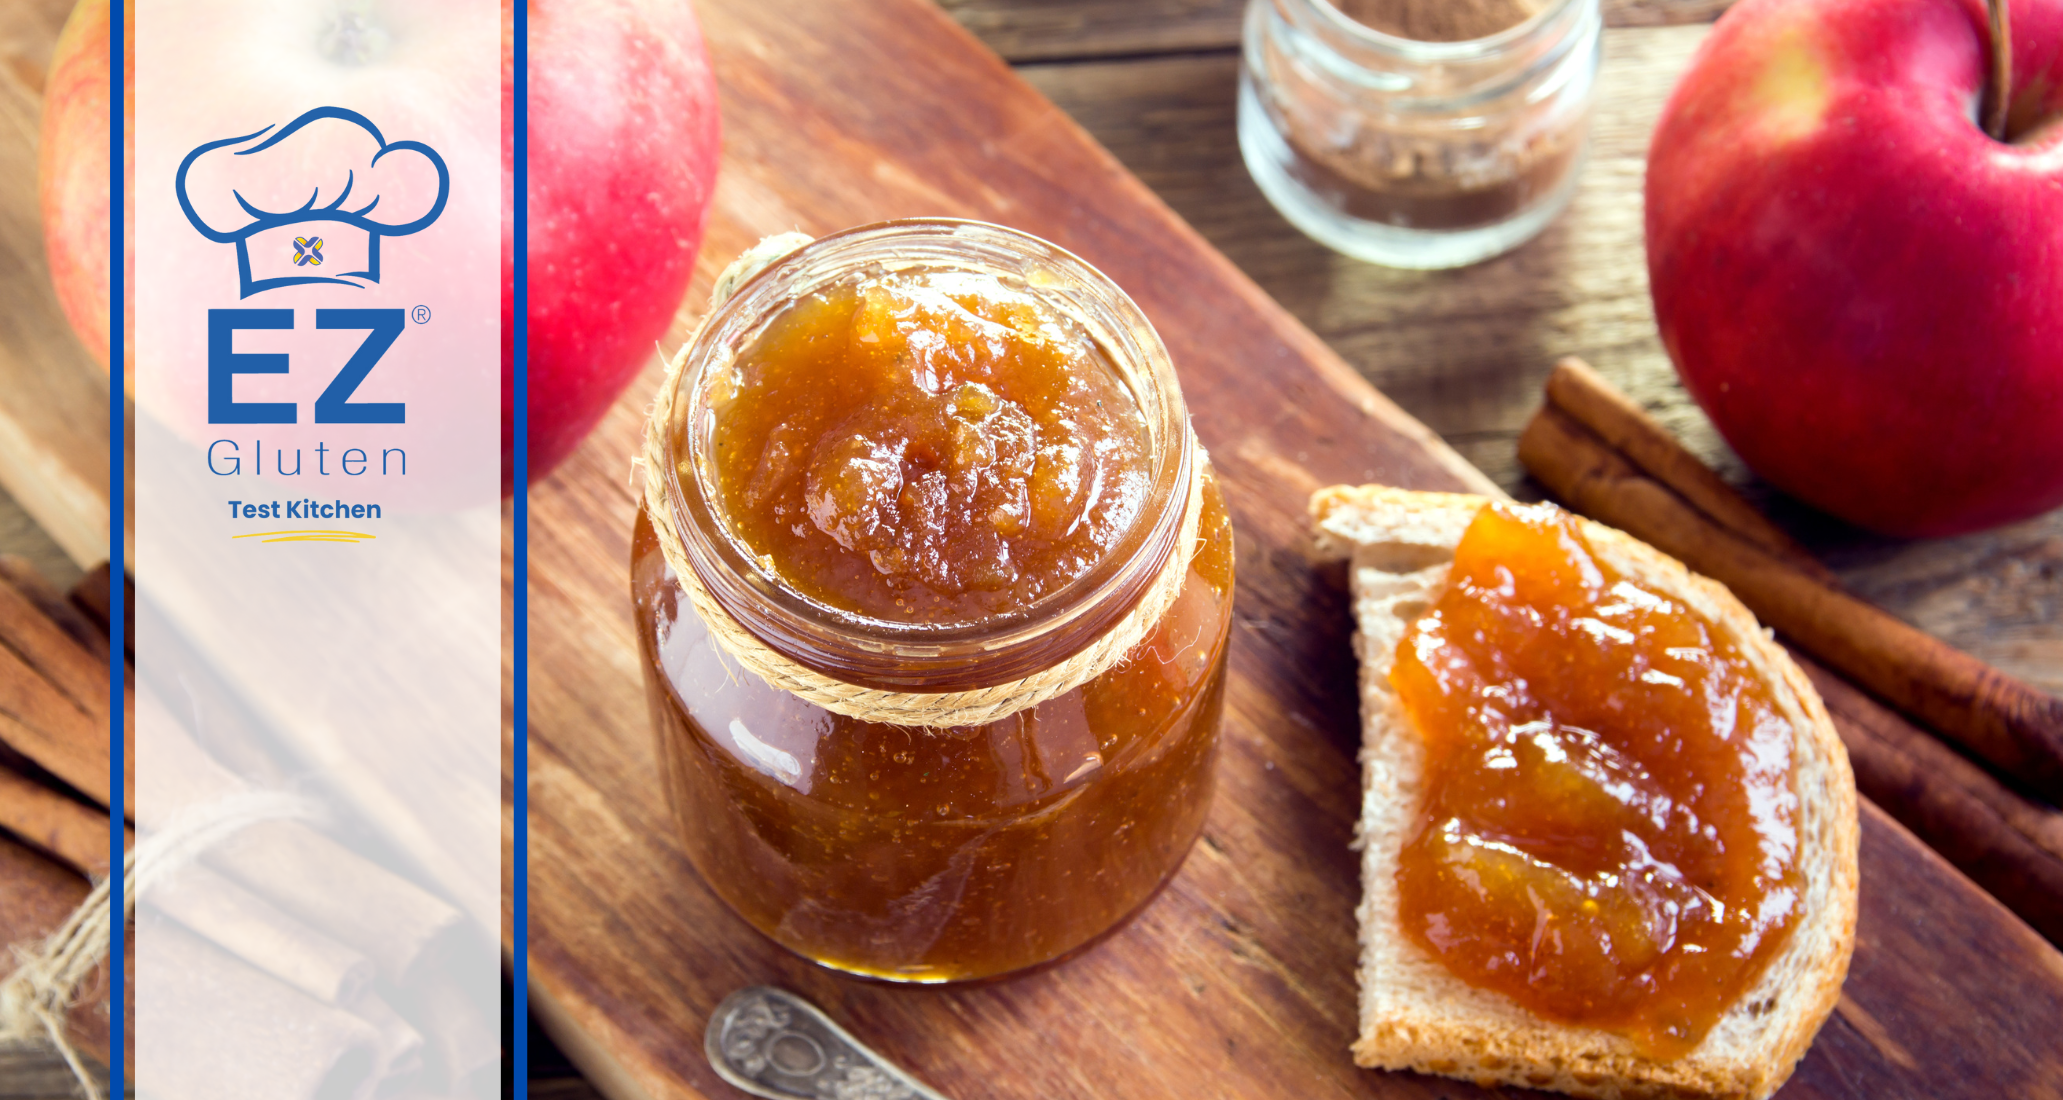
Hi everyone and welcome to our culinary corner, the EZ Gluten® Test Kitchen where we create gluten free versions of everyday meals, drinks, and other treats you can safely savor. Today, we’re diving into the sweet, spiced world of fall with gluten-free spiced apple butter. Whether you’re a seasoned gluten-free foodie or simply curious about new culinary adventures, apple butter offers a versatile and delicious addition to your pantry. Get ready to discover the comforting aromas and flavors that make this gluten-free delight a must-have for any kitchen. Whether you spread it on toast, swirl it into your morning oatmeal, or use it as a secret ingredient in your baking, gluten-free apple butter is here to add a touch of sweetness to your life.
Join us as we savor the season with this delectable, naturally gluten-free spread that celebrates the crisp, juicy goodness of apples. Let’s embark on this culinary journey together! Feel free to leave a comment or post a picture! Questions about this or other recipes, email us at ezglutentestkitchen@elisa-tek.com.
Spiced Apple Butter
Prep time: 30 Minutes Cook time: 12 hours
Makes 6 to 8 cups
Ingredients
- 6 pounds mixed apples (see notes)
- 1 cup granulated sugar
- 1 cup brown sugar
- 1 tablespoon ground cinnamon
- 1 teaspoon ground nutmeg
- 1⁄2 teaspoon ground cloves
- 1⁄2 teaspoon salt
- 1 tablespoon vanilla extract
Equipment
- 6-quart slow cooker
- Cutting board
- Knife
- Large mixing spoon
- Measuring spoons
- Immersion blender or potato-masher
Directions
Start by washing your apples well. You can use a baking soda or white vinegar mixed with water to help remove any wax, dirt, or anything else from your apples.
Once clean we can move on to coring and dicing the apples. There is no need to remove the skin of the apples as they will cook down and blend in. Just remember to remove any seeds and stems.
Once cored and diced add them to a 6-quart slow cooker pot along with the granulated sugar, brown sugar, cinnamon, nutmeg, cloves, and salt. Give it all a good mix. There is no need to add any water to this, the juices of the apples are sufficient.
Put the lid on the slow cooker and cook on low for 8-10 hours, stirring occasionally to help the apples cook evenly and prevent potential burning.
Once your apples have cooked for 8-10 hours, take the lid off the pot and add the vanilla extract and use an immersion blender to blend the apples well. Once well blended to your liking continue cooking the apples for another 2 hours without the lid until they become thick and dark.
How do you know when it is done? Easy, scoop and small spoonful of the butter and turn the spoon over. If it holds, it’s ready. If it drips off right away, it’s not thick enough.
Let the apple butter cool for 1 hour, then transfer to an airtight container and refrigerate for 1-2 weeks.
Tips
For a more robust and balanced flavor of apple butter, we suggest using a mixture of apple varieties as well as sweetness and tartness.
Any apple can be used to make apple butter, but generally the soft fleshed apples break down the best.
Softer apples such as:
- Fuji
- Golden Delicious
- McIntosh
- Braeburn
- Cortland
- Idared
If you do not have an immersion blender, no worries. You can use a potato-masher to mash them instead.
Can you freeze the apple butter, yes you can.
To freeze: pour apple butter into a freezer-safe bag or glass container and store it in the freezer for up to 6 months.
To thaw: Thaw frozen apple butter in the fridge overnight. Stir well before use.
![]()
EZGluten® Test Kitchen
ezglutentestkitchen@elisa-tek.com
ezgluten.com/testkitchen
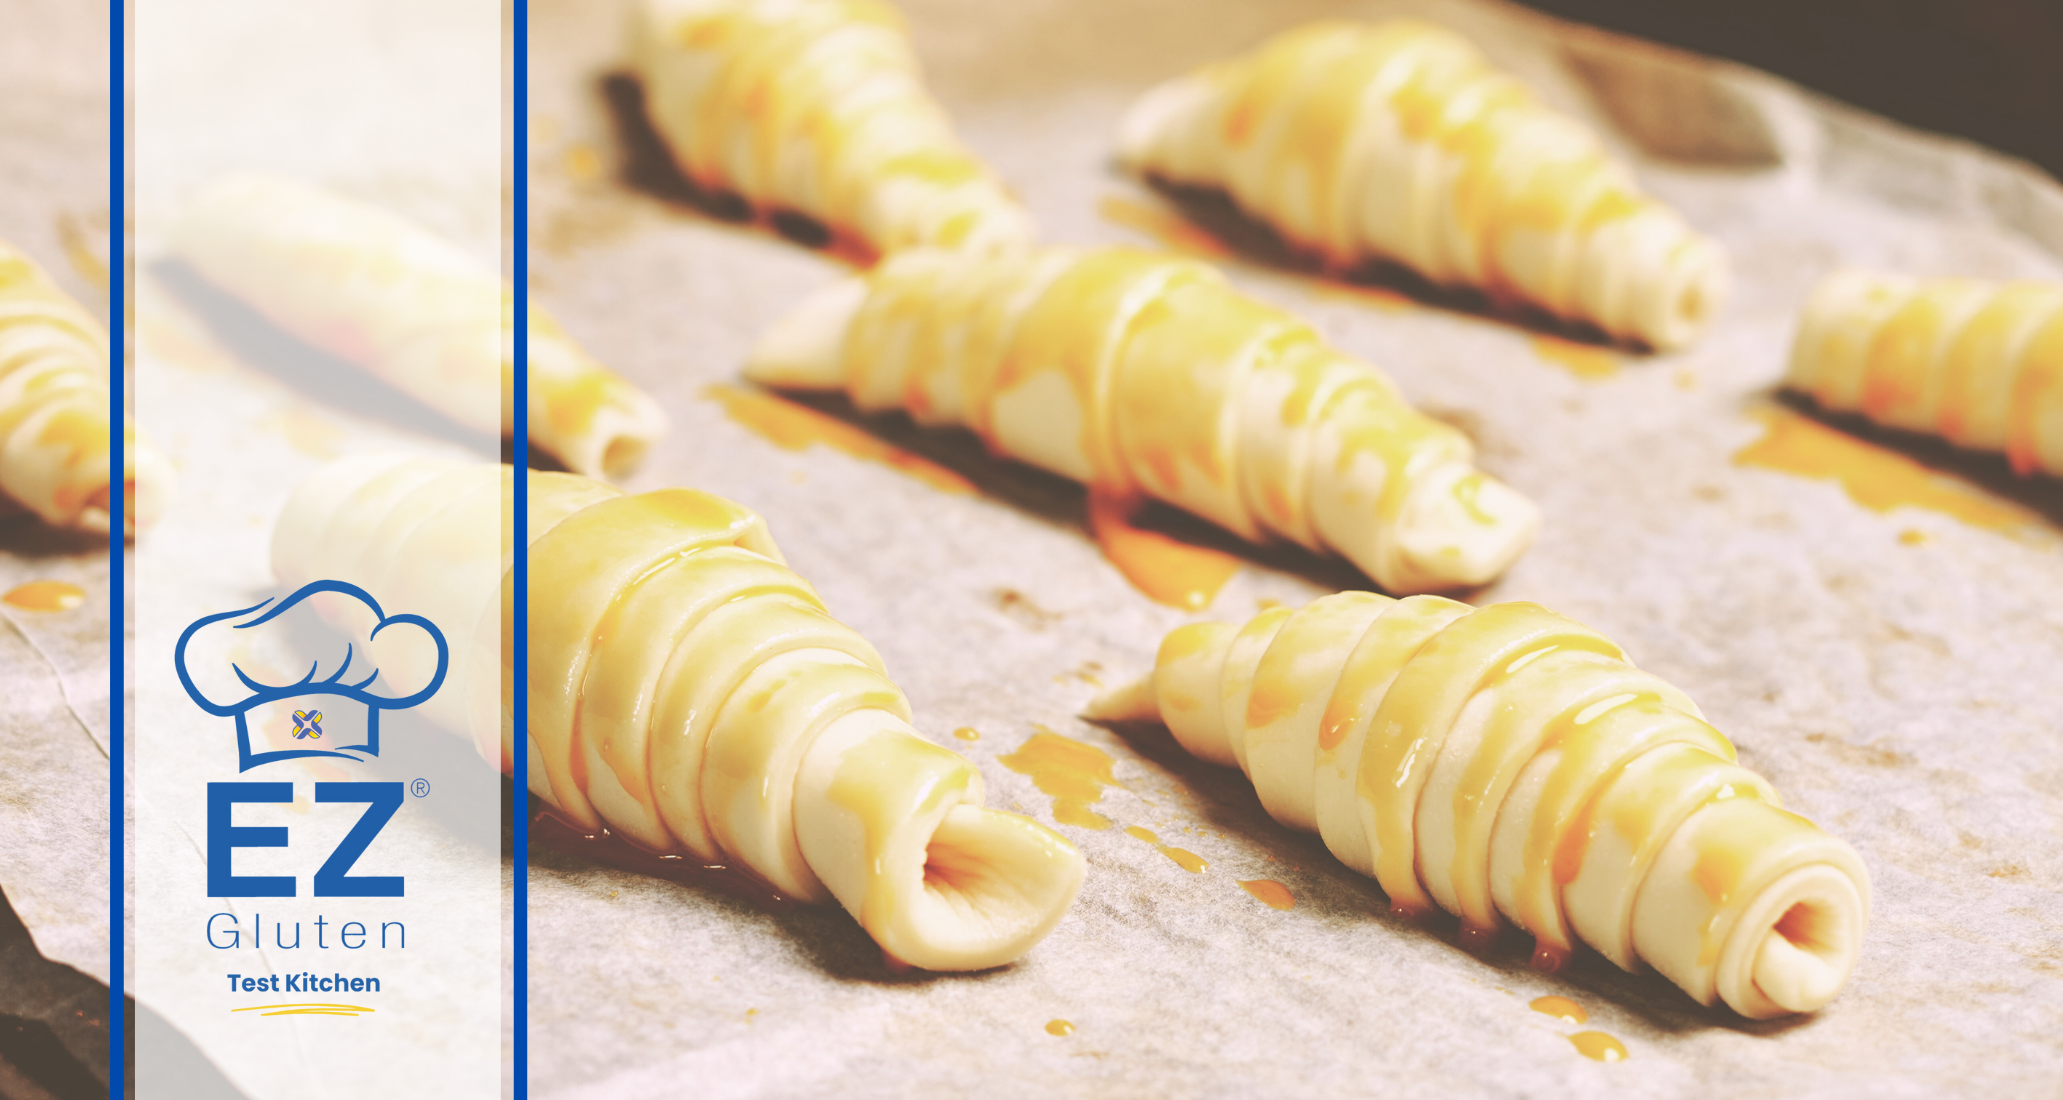
Hi everyone and welcome to our culinary corner, the EZ Gluten® Test Kitchen where we create gluten free versions of everyday meals, drinks, and other treats you can safely savor. As the leaves begin to turn and the air takes on a crisp coolness, there’s nothing quite like indulging in the flavors of fall. For those who follow a gluten-free lifestyle, the idea of a croissant might feel like a forbidden dream. Fear not, as we’re about to guide you to a delightful treat that combines the rich, comforting taste of pumpkin with the delicate layers of a croissant—all without the gluten.
Pumpkin Croissant
Prep Time: 10 Minutes Cook Time: 10-12 minutes
Ingredients
- 1 package refrigerated GF crescent roll dough
- 8 ounces cream cheese, softened to room temperature
- 3/4 cup pure pumpkin puree
- 2 tablespoons each of light brown sugar and regular granulated sugar
- 1 tablespoon of cornstarch or similar thickener
- 2 tablespoons vanilla extract
- 1 egg yolk
- 1/2 teaspoon ground cinnamon
- 1/4 teaspoon ground nutmeg
- 1/4 teaspoon ground ginger
- 1/8 teaspoon ground allspice
- 1/8 teaspoon ground clove
Topping- Optional
- 1 egg, to use as an egg wash
- 1 tablespoon granulated sugar
- 1/4 spoon ground cinnamon
Directions
Preheat your oven to 350 °F and line a baking sheet with parchment paper.
In a medium mixing bowl combine the softened cream cheese, pumpkin puree, both sugars, vanilla extract, egg yolk, spices, and cornstarch (or whatever thickening agent you prefer). Blend well with a hand mixer until smooth and creamy.
Now unroll and separate the crescent roll dough. Spread about a tablespoon of the pumpkin filling in the center of each triangle.
Starting with the long end, carefully roll up each triangle and place on a cookie sheet. Space them out as evenly as you can.
You can now make your egg wash and using a pastry brush gentle coat each crescent roll and top with cinnamon & sugar if desired.
Place into your preheated oven and bake between 10 and 12 minutes, until they begin to turn golden brown.
Once done, remove from the baking sheet and cool on a wire rack. This helps prevent the bottoms of your rolls from over browning and becoming bitter. Enjoy warm!
These rolls will keep in an airtight container for about a week. They remain good frozen for up to two months. We recommend thawing frozen rolls overnight in your fridge. You can reheat them by covering them with a damp paper towel and microwaving them 10 to 15 seconds.
Notes
You can blend the mixture by hand, but it is easier to use a hand or stand mixer.
If you prefer not to use an egg wash, you can use a bit of melted butter instead to achieve the golden-brown color.
You can use a number of other thickening agents if you do not wish to use cornstarch. Common alternatives include:
Arrowroot powder – 1 to 1.5 teaspoon for evert 1 teaspoon cornstarch
Potato starch -1 to 1.5 teaspoon for evert 1 teaspoon cornstarch
Tapioca powder – 1:1 ratio, so 1 teaspoon for evert teaspoon of cornstarch
![]()
𝐄𝐙𝐆𝐥𝐮𝐭𝐞𝐧® 𝐓𝐞𝐬𝐭𝐊𝐢𝐭𝐜𝐡𝐞𝐧
ezglutentestkitchen@elisa-tek.com
ezgluten.com/testkitchen

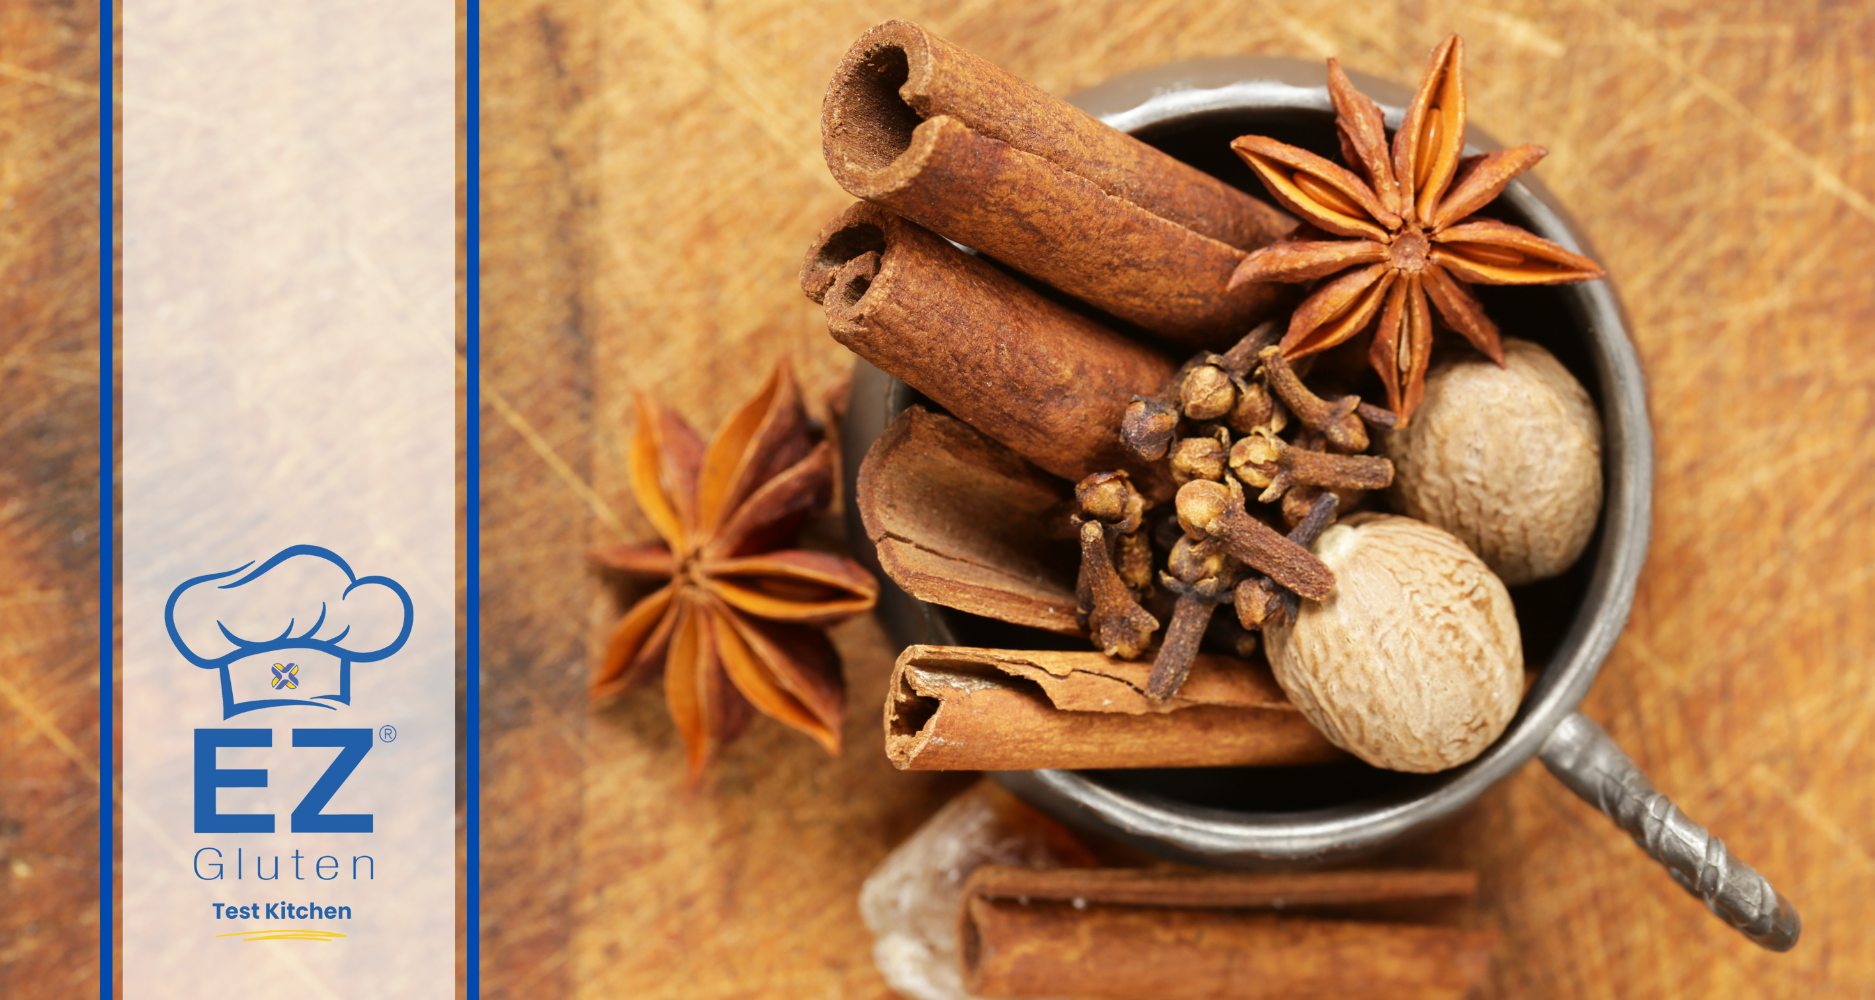
Hi everyone and welcome to our culinary corner, the EZ Gluten® Test Kitchen where we create gluten free versions of everyday meals, drinks, and other treats you can safely savor. As the leaves begin to change color and the crisp autumn air settles in, there’s one flavor that seems to capture the essence of fall perfectly, pumpkin spice. This cozy and comforting blend of spices has become a seasonal favorite, making its way into everything from lattes to desserts. We’re excited to share a delightful pumpkin spice recipe that will bring the warmth of fall into your kitchen.
Whether you’re a seasoned baker or a novice in the kitchen, this recipe is simple yet satisfying, ensuring you can enjoy the iconic flavors of autumn with ease. Get ready to fill your home with the comforting aroma of cinnamon, nutmeg, ginger, and cloves, as you whip up a treat that’s perfect for sharing with friends and family or savoring all to yourself. Grab your apron and let’s dive into the delicious world of pumpkin spice!
Feel free to leave a comment or post a picture! Questions about this or other recipes, email us at ezglutentestkitchen@elisa-tek.com.
Pumpkin Spice Blend
Pre Time: 5 Minutes
Ingredients
- 3 tablespoons ground cinnamon
- 2 teaspoons ground ginger
- 1 ½ teaspoons ground nutmeg
- 1 teaspoon ground clove
- ¾ teaspoon ground allspice
- Tiny pinch of black pepper (optional, but it is amazing)
Tools & Equipment
- A small funnel
- A small airtight jar or similar for storage (typically a 3-4 fluid ounce glass jar)
- Small mixing bowl
- Whisk
- Measuring spoons
- A label for your jar
Directions
Measure your spices into a small mixing bowl and then whisk them well. Some spices like ground ginger can clump easily so a vigorous whisking is recommended.
Once well blended, pour into your storage jar. A small funnel can be helpful for doing this.
Don’t forget to label & date your spice mix! Store the finished mix in a cool dry place, like a cabinet or draw. This mixture should stay fresh for up to a year.
Tips
Here are a few helpful tips to help you ensure you are getting gluten-free spices for your recipes.
Avoid Bulk Bins; Spices sold in bulk bins may have been exposed to gluten-containing products through shared scoops or bins.
Read Labels Carefully; Look for wheat, barley, rye, and malt on the ingredient list.
Check for Certification; Brands that carry a “Certified Gluten-Free” label have undergone rigorous testing to ensure their products meet strict gluten-free standards, typically less than 20 parts per million (ppm) of gluten.
![]()
𝐄𝐙𝐆𝐥𝐮𝐭𝐞𝐧® 𝐓𝐞𝐬𝐭𝐊𝐢𝐭𝐜𝐡𝐞𝐧
ezglutentestkitchen@elisa-tek.com
ezgluten.com/testkitchen
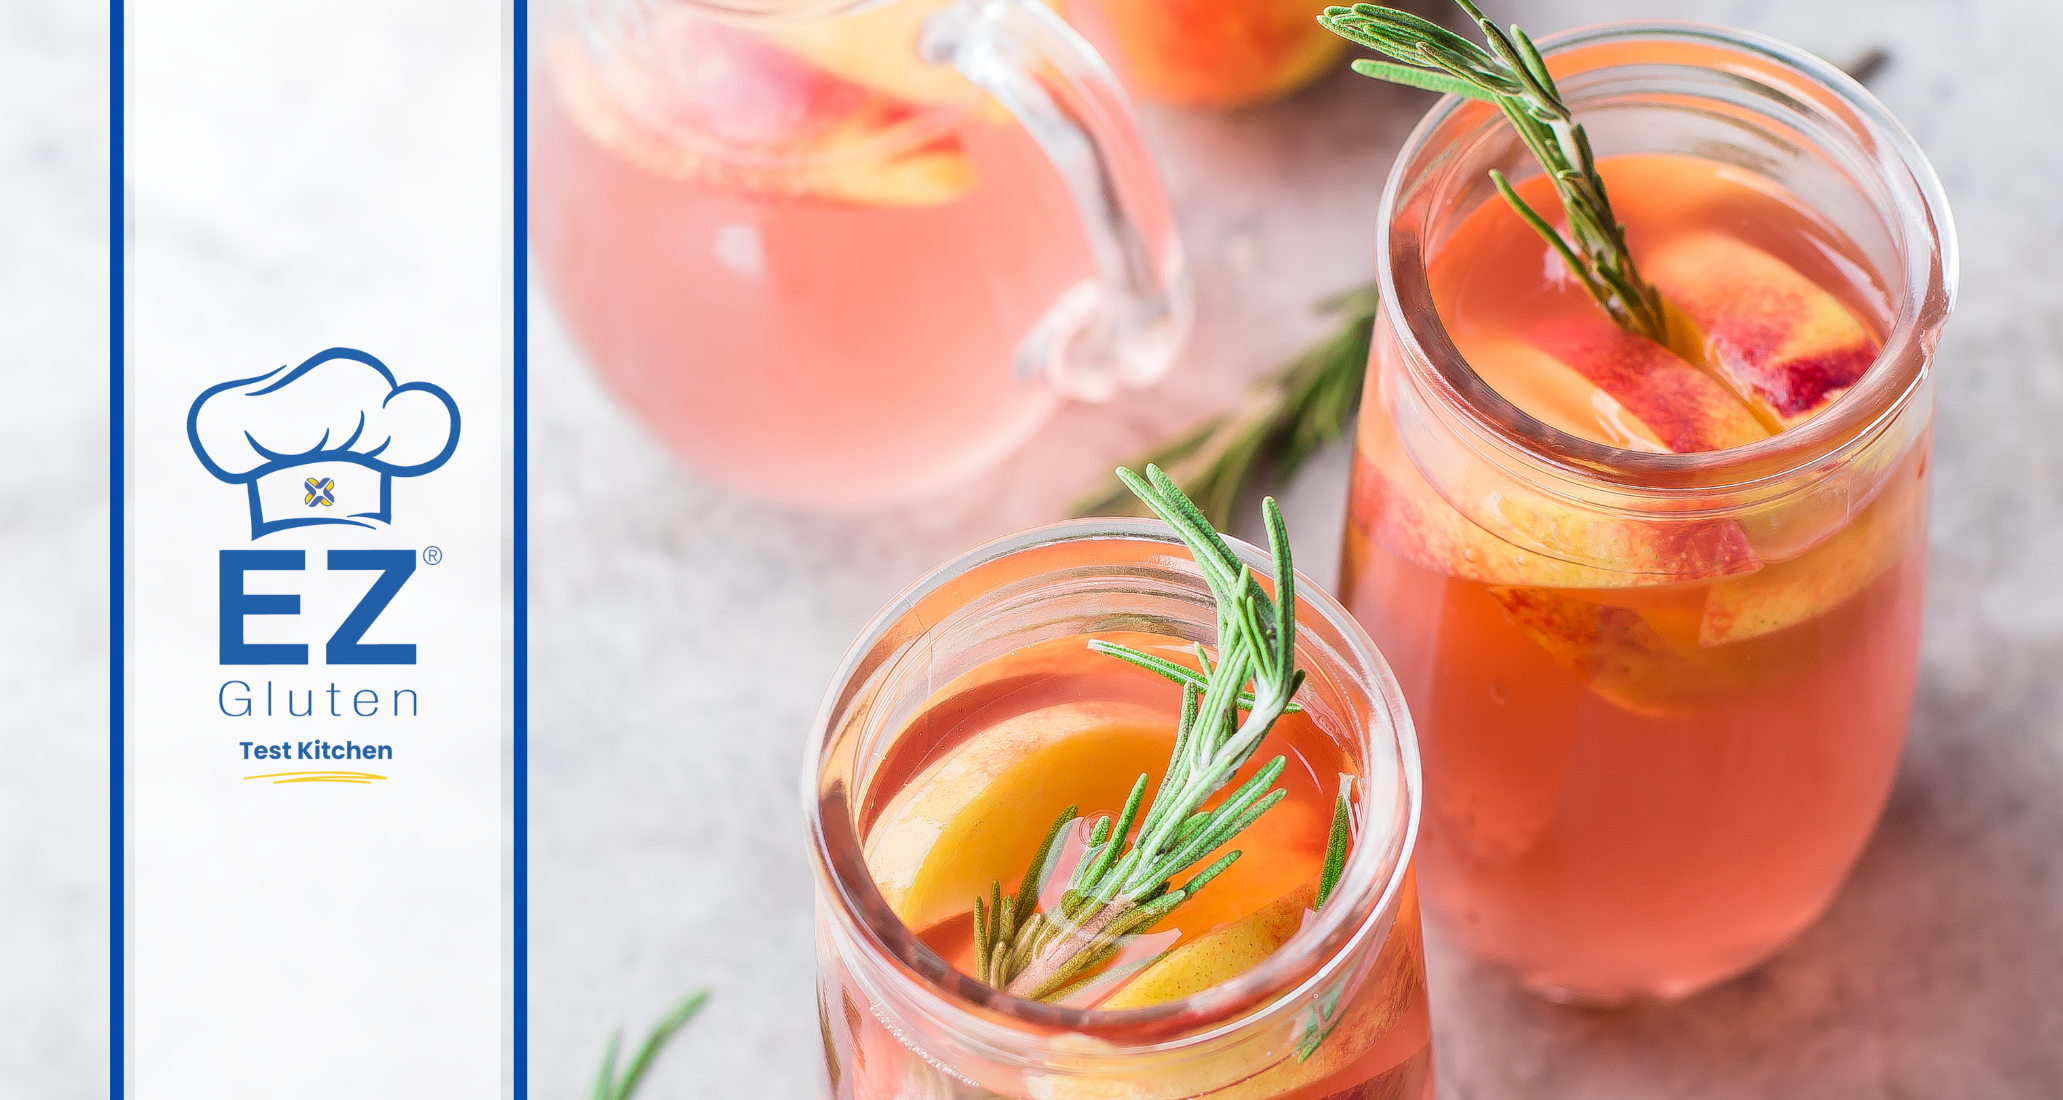
Hi everyone and welcome to our culinary corner, the EZ Gluten® Test Kitchen where we create gluten free versions of everyday meals, drinks, and other treats you can safely savor. Let’s explore the delightful world of refreshing beverages, where health meets taste in perfect harmony. Today, we’re thrilled to introduce you to a wonderful concoction that’s not only a feast for your taste buds but also friendly to those with dietary restrictions: Gluten-Free Peach Lemonade.
Whether you’re hosting a summer soirée, relaxing on the porch, or simply looking to quench your thirst with something special, this peach-infused lemonade is the perfect choice. Made with fresh, juicy peaches and zesty lemons, this drink offers a burst of vibrant flavors and a touch of sweetness. Crafting this gluten-free delight is a breeze and requires only a handful of ingredients. So, gather your peaches and lemons, and prepare to embark on a refreshing adventure that promises to keep you cool and satisfied. Enjoy the natural goodness and the sunny, fruity embrace of this homemade peach lemonade!
We hope you will give it a try and let us know what you think. Feel free to leave a comment or post a picture! Questions about this or other recipes, email us at ezglutentestkitchen@elisa-tek.com.
Fresh Peach Lemonade
Prep time: 10 minutes Cook Time: 10 Minutes
Yields: 5 servings
Ingredients
- 4 cups water, divided
- 2 medium peaches, washed and chopped
- ¾ to a cup sugar
- 3/4 cup lemon juice (about 4-5 lemons)
- Zest of one lemon
- 1 medium lemon, slices
Equipment
- Measuring cup
- zester
- knife
- cutting board
- small saucepan
- large spoon for stirring
Directions
In a small saucepan, bring 2 cups water, peaches, lemon zest, and sugar to a boil. Reduce heat; cover and simmer for 5 to 7 minutes or until peaches are tender. Remove from heat. Allow to cool, then strain the mixture, discarding peach skins.
In a large pitcher, combine peach mixture, freshly squeezed lemon juice, and the remaining 2 cups water. Add lemon slices and garnish with mint if desired. Serve over ice.
Notes
Depending on how sweat your peaches you may adjust the amount of sugar, ¾ cup up to 1 cup.
You can blend the peach mixture after cooling if you don’t want it chunky. Simply blend in a blender or use an immersion blender. You can also strain the mixture to remove the peach chunks if you prefer.
Mix it up and garnish with a spring of rosemary or thyme or rim your serving cup with flavored sugar or chili powder.
![]()
EZGluten® Test Kitchen
ezglutentestkitchen@elisa-tek.com
ezgluten.com/testkitchen
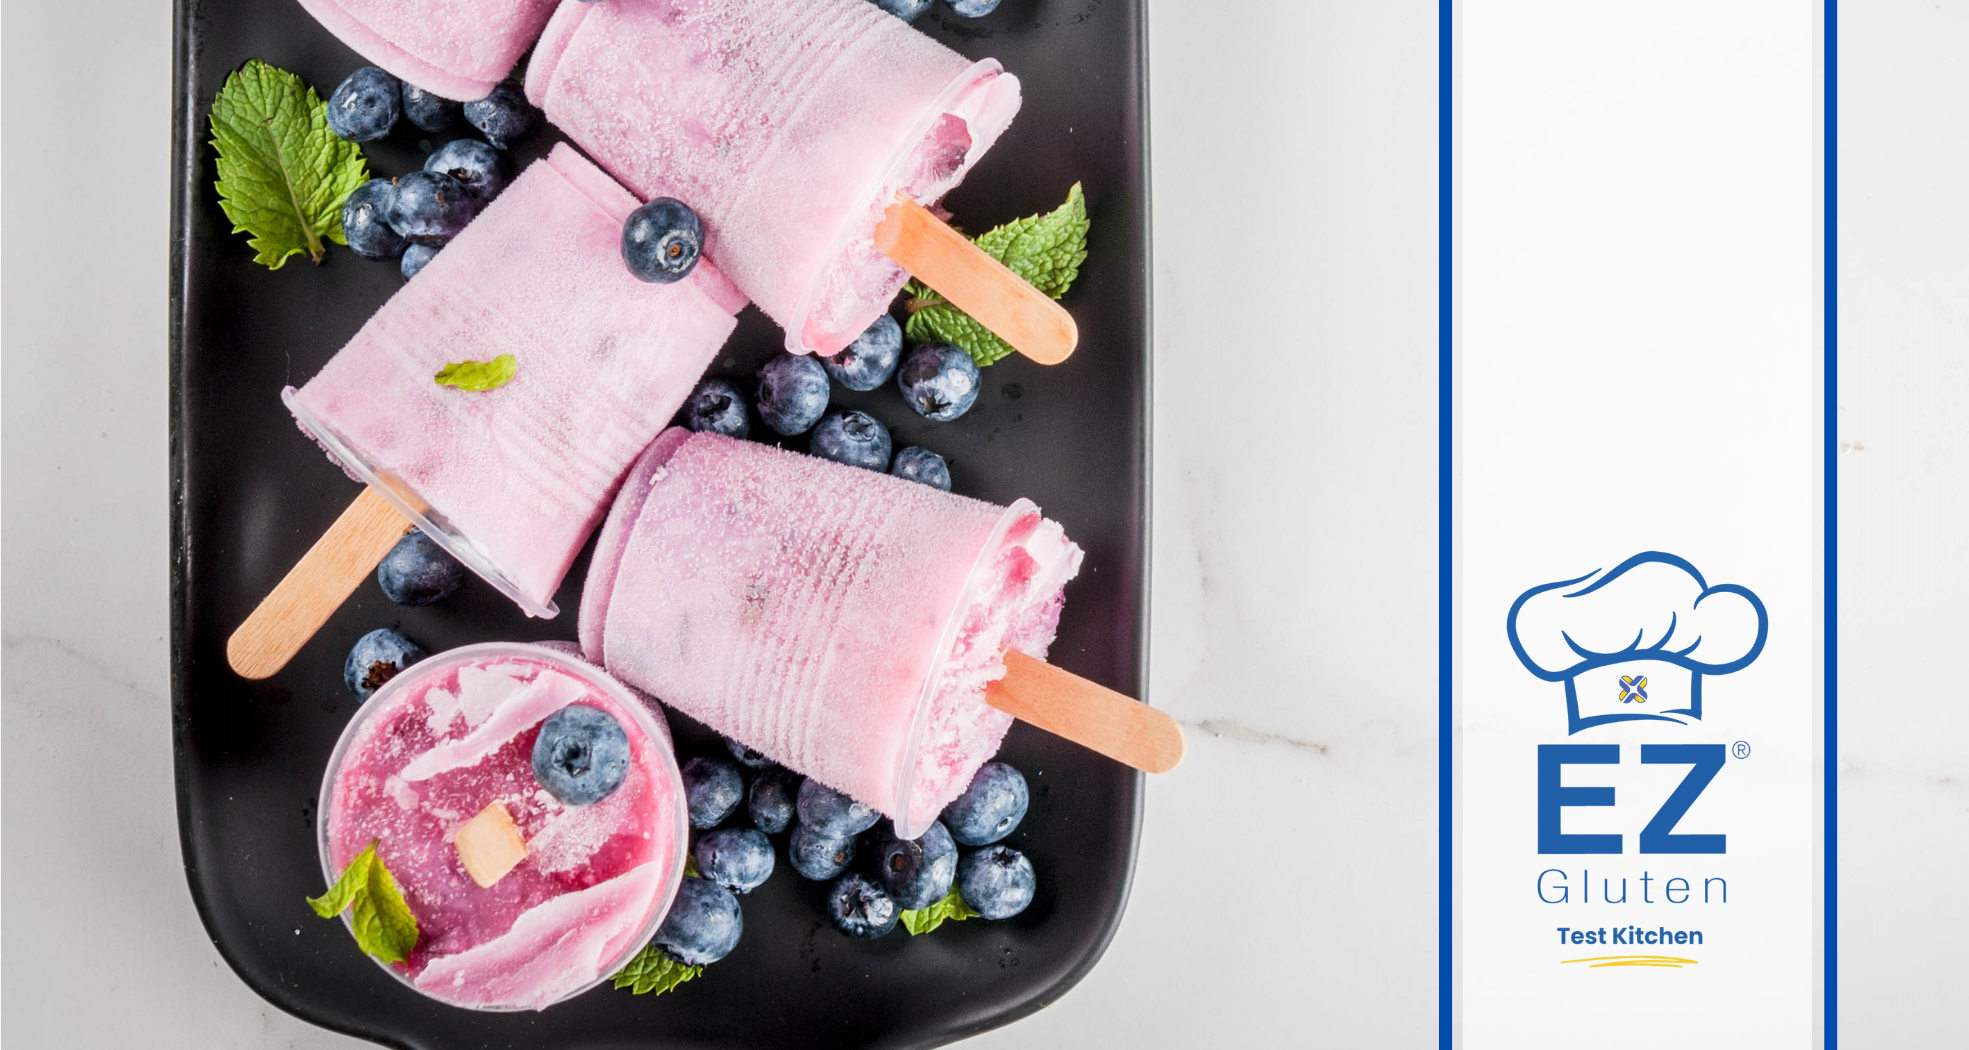
Hi everyone and welcome to our culinary corner, the EZ Gluten® Test Kitchen where we create gluten free versions of everyday meals, drinks, and other treats you can safely savor. Do you have an abundance of blueberries and wonder just what to do with them? We have you covered with our recipe for gluten-free blueberry yogurt pops, an easy-to-make, deliciously creamy dessert that promises to satisfy your sweet tooth while keeping your dietary preferences in mind.
These popsicles combine the tangy goodness of yogurt with the natural sweetness of blueberries, creating a harmonious blend of flavors that will captivate your taste buds. Not only are they gluten-free, but they’re also packed with nutrients, making them a guilt-free indulgence perfect for any time of the day. Whether you’re looking for a fun project to do with kids, a healthy snack to keep on hand, or simply a way to enjoy the bounty of fresh blueberries, these yogurt pops are sure to become a favorite. So, grab your ingredients and pop molds, and let’s get ready to make a treat that’s as delightful to make as it is to eat!
We hope you will give it a try and let us know what you think. Feel free to leave a comment or post a picture! Questions about this or other recipes, email us at ezglutentestkitchen@elisa-tek.com.
Blue Berry Yogurt Pops
Prep Time: 15 minutes Freeze Time: 6 hours
Yields: 12 pops
Ingredients
- 1 12-ounce bag frozen blueberries
- 1 cup full fat Greek Yogurt
- ½ full fat milk
- 3 tablespoons maple syrup
- 1 teaspoon real vanilla extract
Equipment
- Popsicle Mold
- Popsicle Sticks
- Blender
- Measuring spoons
- Measuring cups
- Spatula or Medium sized spoon, for scraping down blender & transferring mixture into molds
Directions
Start by washing your berries.
Next, combine your ingredients in your blender. Process for 1 to 2 minutes, until smooth. You may need to scrap the sides down during this process to get everything well incorporated.
Now you can transfer your mixture to your molds and add popsicle sticks or if your mold has its own sticks use them. We highly recommend putting parchment paper over the yogurt before freezing.
Place in your freezer for at least 6 hours to fully set.
Notes
If you have trouble getting your pops out of the mold, run some warm water over them for a few seconds to help loosen them.
We use frozen berries as they provide a better texture. You can use fresh if you prefer but be mindful of the liquid you’re adding and be sure to blend them well. You may also prefer to strain them after.
For best results only use Greek yogurt to make froyo pops. Other yogurts have higher water content and as a result can become grainy and icy when frozen. This also affects the flavor.
Use full 100% fat Greek Yogurt and milk for the best creamiest froyo pops.
To help prevent ice crystals from forming in your yogurt pops you can cover the surface with parchment paper before putting them in the freezer.
To help keep your pops creamy and less icy, add a teaspoon of corn starch when blending.
We use real vanilla. You can use imitation if you prefer. Real vanilla has a more profound flavor impact especially in foods that are not cooked, like yogurt pops.
![]()
EZGluten® Test Kitchen
ezglutentestkitchen@elisa-tek.com
ezgluten.com/testkitchen
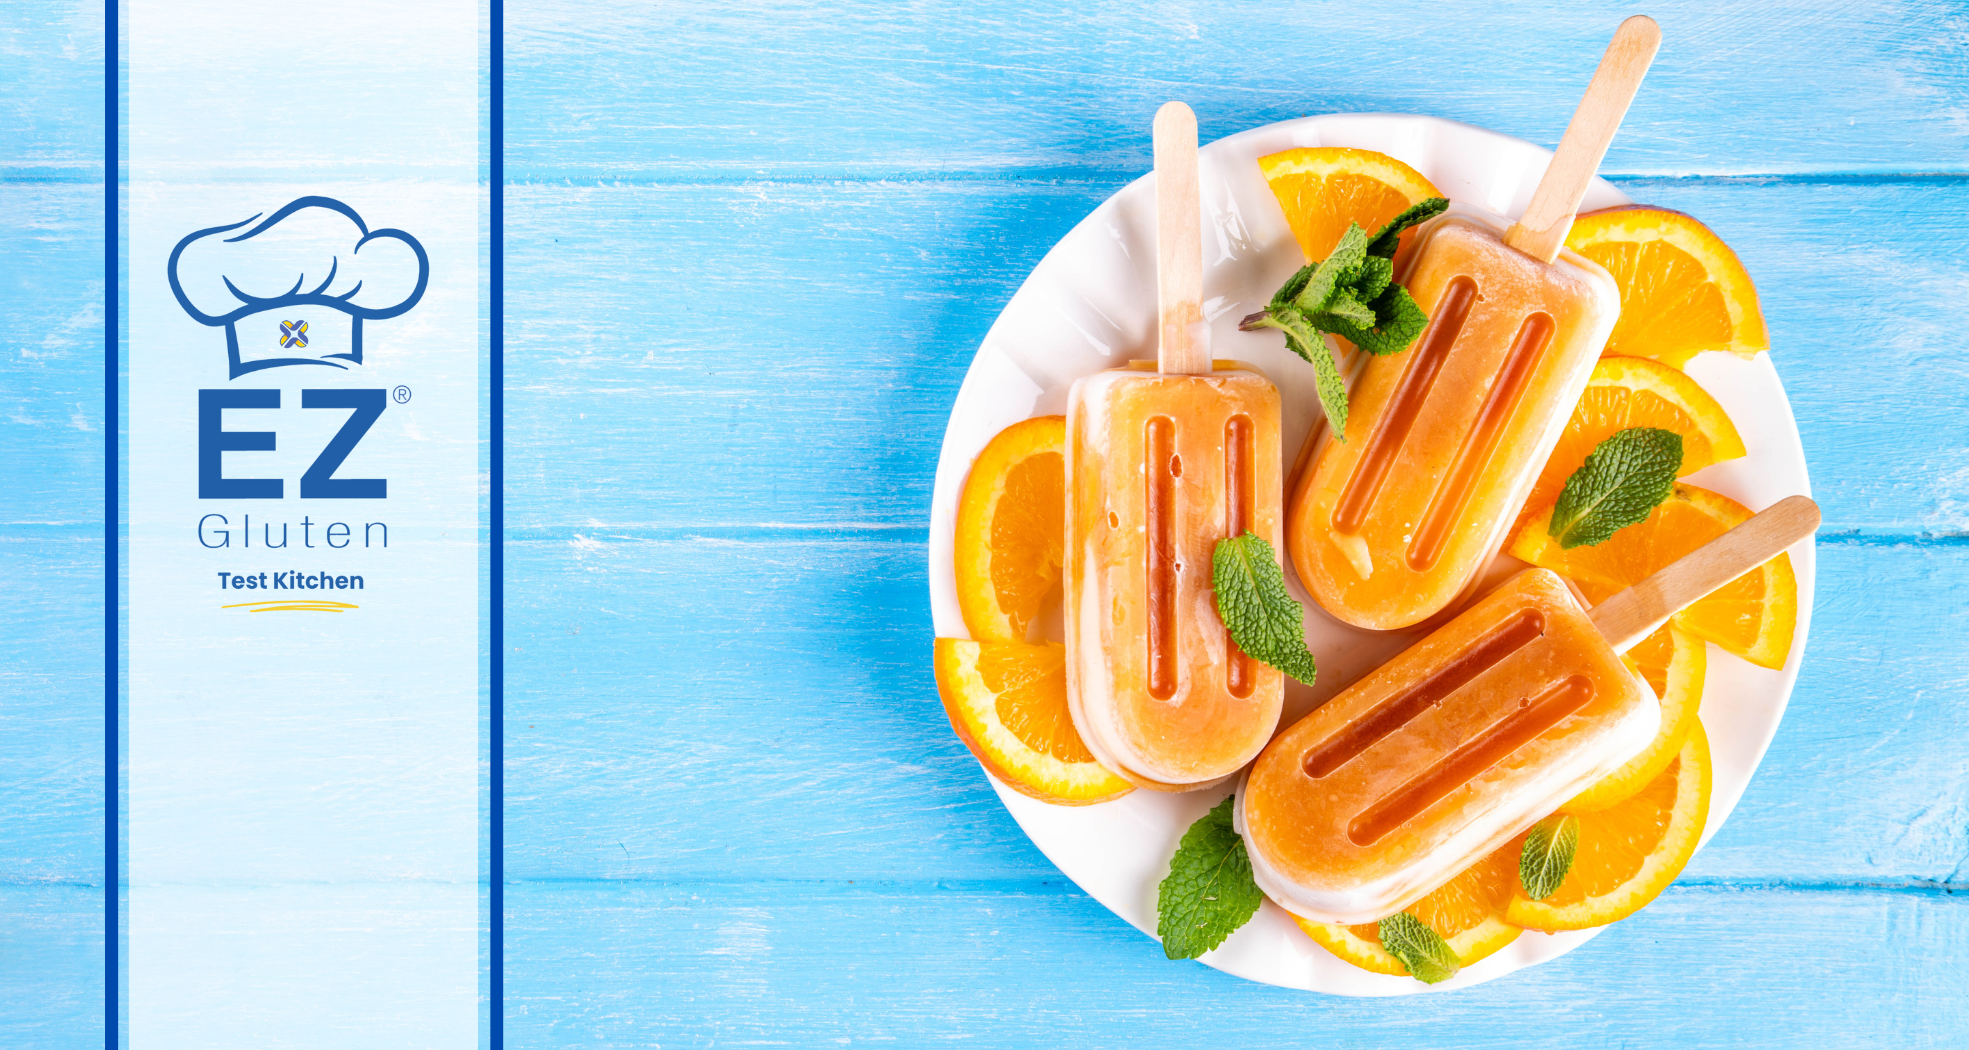
Hi everyone and welcome to our culinary corner, the EZ Gluten® Test Kitchen where we create gluten free versions of everyday meals, drinks, and other treats you can safely savor. There’s nothing quite as refreshing as a cool, fruity treat to keep you energized and satisfied. Enter the gluten-free pineapple-mango yogurt pops—a delightful, tropical twist on the classic frozen dessert. These pops are perfect for anyone looking to indulge in a sweet, satisfying snack that is not only delicious but also healthy and free from gluten.
These gluten-free pineapple-mango yogurt pops are a hit with both kids and adults. They’re an excellent choice for family gatherings, picnics, or simply as a snack to enjoy while lounging in the backyard. With their vibrant colors and irresistible flavor, they’re sure to be a favorite for everyone. So, grab your blender and a few simple ingredients, and get ready to enjoy a burst of tropical goodness with every bite!
We hope you will give it a try and let us know what you think. Feel free to leave a comment or post a picture! Questions about this or other recipes, email us at ezglutentestkitchen@elisa-tek.com.
𝐏𝐢𝐧𝐞𝐚𝐩𝐩𝐥𝐞 𝐌𝐚𝐧𝐠𝐨 𝐏𝐨𝐩𝐬𝐢𝐜𝐥𝐞𝐬
Prep Time: 15 minutes Freeze Time: 6 hours
Yields: 12 pops
𝐈𝐧𝐠𝐫𝐞𝐝𝐢𝐞𝐧𝐭𝐬
- 3 mangoes, about 2 cups chopped
- 1 ½ cups chopped pineapple
- ½ cup GF Greek yogurt
- 2 tbsp lime juice
- 2 tbsp honey
- 2 tsp real vanilla
Equipment
- Popsicle Mold
- Popsicle Sticks
- Blender
- Cutting board
- Knife
- Measuring spoons
- Measuring cups
- Spatula or Medium sized spoon, for scraping down blender & transferring mixture into molds
𝐈𝐧𝐬𝐭𝐫𝐮𝐜𝐭𝐢𝐨𝐧𝐬
To start if using fresh fruits, as recommended, wash, peel, and cut your fruit up.
Add all your fruit to a high-speed blender or food processor and process until completely smooth. We like to use the pulse function of our blender to start to help break things up and make it easier to blend, then switch to using the blend function.
Now add the honey, yogurt, lime juice, and vanilla. If you are adding anything else, such as fresh mint or chili powder, do so now.
Blend until well incorporated and give it a taste to check the sweetness, you can add more honey at this point if you want it to be sweeter.
Transfer to your popsicle molds, filling just below the top of the mold and insert the popsicle sticks if you’re using them.
Place it in the freezer for at least 6 hours.
𝐍𝐨𝐭𝐞𝐬
Store any leftover popsicles in a zip-lock bag or air-tight container in the freezer.
These popsicles can be stored in the freezer for up to 3 months.
We highly recommend using fresh fruit for this recipe, but you can use frozen or canned if you prefer.
You can use any mango variety, but we recommend using Alphonso, Haden, or Ataulfo mangos if you can find them. These tend to be sweeter and have a smooth and creamy texture when blended.
Ripe Fruits: Ensure that your pineapple and mango are ripe to maximize sweetness and flavor.
For frozen and/or canned fruits: We suggest thawing frozen fruits before blending to prevent icy texture.
If using canned fruits, be aware that many of them are sweetened but there are unsweetened options as well. If you are using sweetened canned fruit you may wish to skip adding the honey.
Variations: You can add a pinch of chili powder for a spicy kick or a few mint leaves for a fresh twist.
You can use imitation vanilla if you prefer, but the real pure vanilla is best for smoothies, drinks, and popsicles.
This recipe can be made vegetarian or vegan with by using non-dairy yogurt and an alternative vegan sweeter such as agave syrup, coconut syrup, monk fruit, or stevia.
Agave syrup or coconut syrup can be substituted 1 to 1 for the honey. If you are using stevia or monk fruit, use about ¼ – ½ teaspoon in place of the honey. Be sure to check the labels if you choose to use these to ensure you get a gluten-free product.
![]()
EZGluten® Test Kitchen
ezglutentestkitchen@elisa-tek.com
ezgluten.com/testkitchen
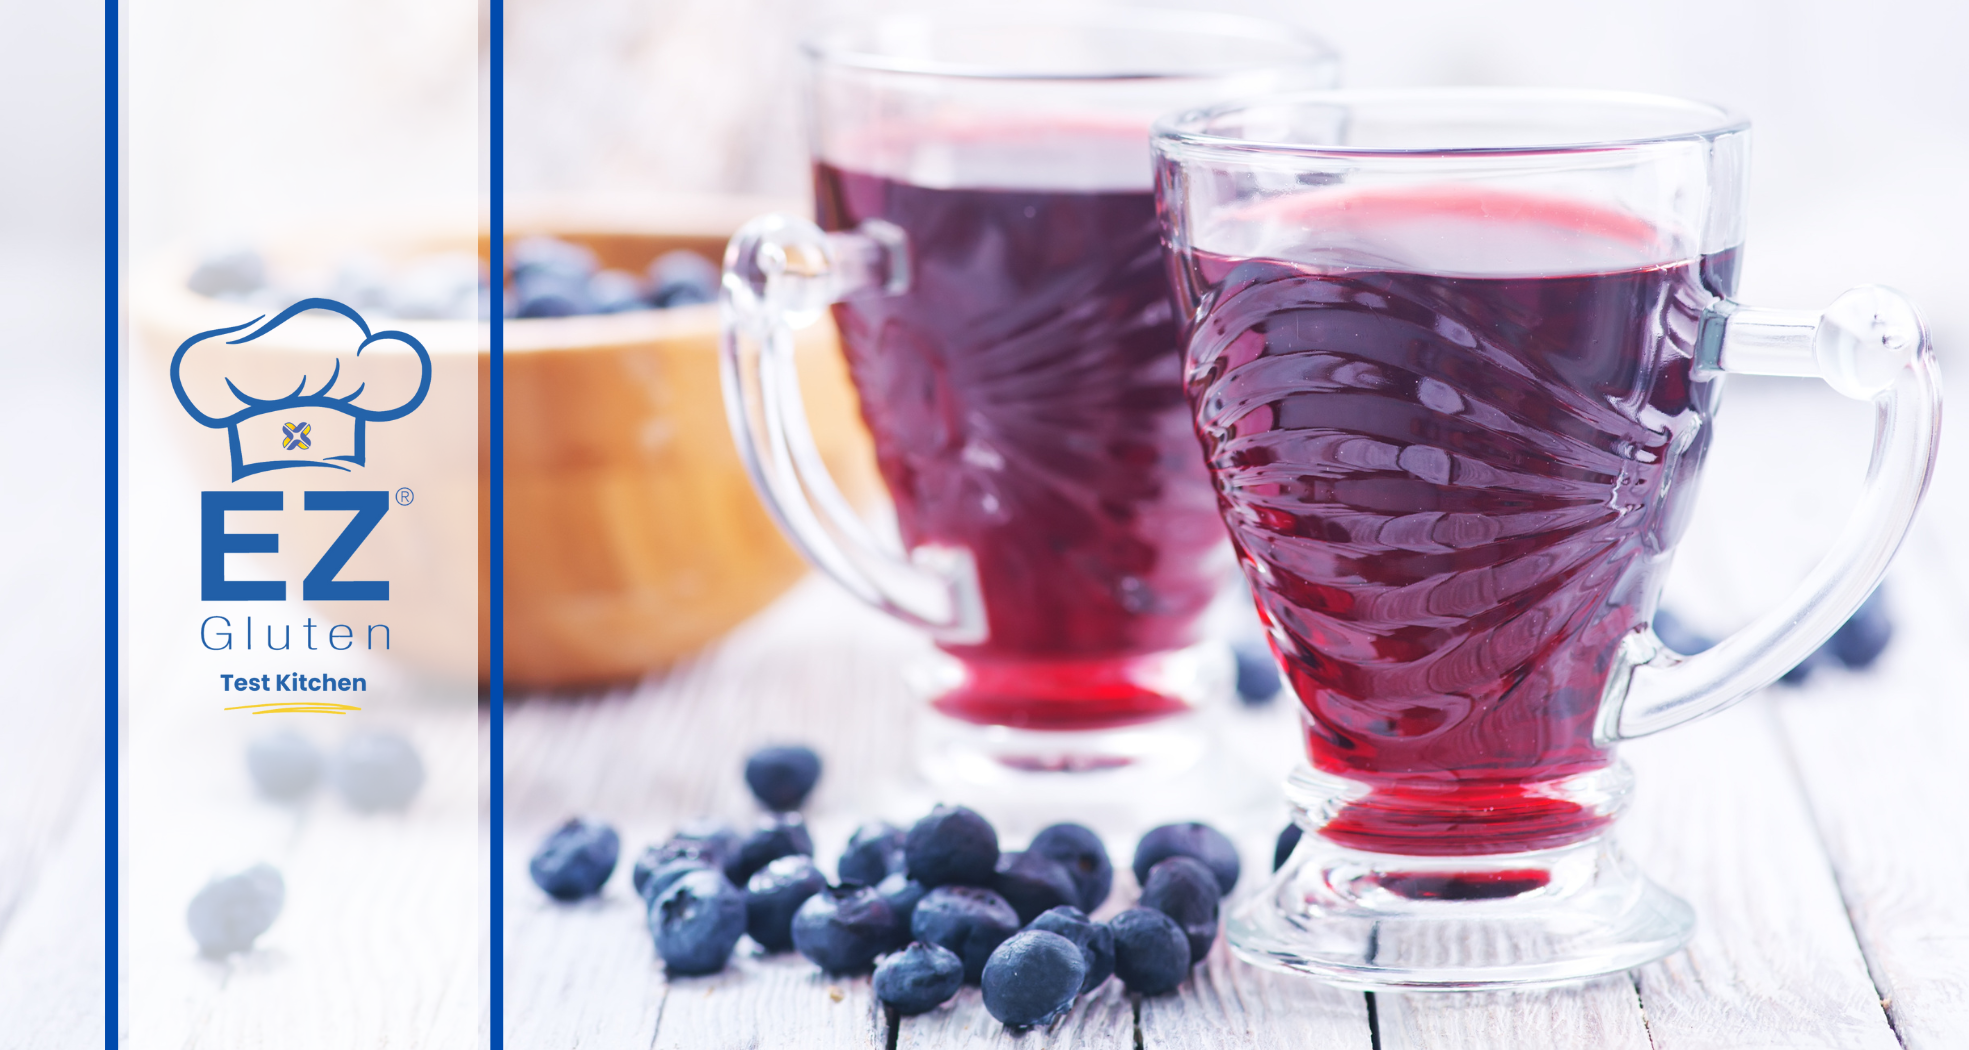
Welcome back to our culinary corner, the EZ Gluten® Test Kitchen where we create gluten free versions of everyday meals, drinks, and other treats you can safely savor. Today, we’re brewing a sweet summer twist on traditional iced tea: Blueberry Infused Iced Tea. This fun alternative of iced tea is perfect for picnics, BBQs, or any summertime get together. Join us as we explore the vibrant fusion of fresh blueberries and black tea to discover how this delightful drink can elevate you to a summer paradise with every sip.
We hope you will give it a try and let us know what you think. Feel free to leave a comment or post a picture! Questions about this or other recipes, email us at ezglutentestkitchen@elisa-tek.com.
Gluten-Free Blueberry Infused Iced Tea
Yields: 2 Quarts
Please see the notes at the end of this recipe for more information concerning using alternative sweeteners, making an unsweetened version, and other helpful information.
Equipment
- A 2 -quart pitcher
- Fine mesh strainer, medium-sized
- Saucepan, small
- Medium/large pot for brewing the tea
- Measuring Cup – whatever size you have
- Long Spoon – for stirring and mixing
Ingredients for Tea
- 6 cups of water
- 4 – 6 gluten free tea bags
Ingredients for Blueberry Syrup
- 2 cups of fresh blueberries, about 10 to 12 ounces
- 2 cups of water
- 1 cup of sugar
- Juice of half a lemon
Directions
For the blueberry Syrup
To start we will need to clean the berries. You can just use plain water, but we recommend rinsing them using cold water & white vinegar. Just add 1 cup of white vinegar to 4 cups of water and allow your berries to sit for 2 to 3 minutes before straining and patting dry. Alternatively, you can use 1 teaspoon of baking soda to add 4 cups of water and allow the berries to sit for 10 to 15 minutes before rinsing well and patting dry.
Next, in a small saucepan, add the washed blueberries, 2 cups of water, sugar, and fresh squeezed lemon juice. Bring the mixture to boil over high heat.
Once the mixture is at a rolling boil, reduce the heat to medium-low and simmer for about 15 minutes, stirring occasionally as needed to prevent burning.
Allow the mixture to cool.
After about 15 minutes passed, remove the mixture from the heat. Carefully, using a mesh strainer, strain the mixture into a measuring cup or bowl, discarding the blueberry pulp.
For the Tea
In a large pot add 6 cups of cold water and bring to a hard boil. Once boiling, shut off the heat and add 4 to 6 tea bags and allow them to simmer for 3 to 5 minutes. If you are using family size tea bags you should only need 4 . The more tea bags you use the stronger the tea flavor, so brew the tea to your liking.
Mixing it & Storage
Once your tea is ready you can add it to your pitcher, then slowly add your blueberry syrup mixture and mix until well combined. You may want to use a long spoon to help mix. Now just pop into your fridge to cool or serve it up immediately in glasses with plenty of ice.
Notes
In general, pure black, green, white, oolong, rooibos, and puerh teas are gluten free. Many herbal blends, chai, matcha, sprouted seed teas as well as flavored or blended teas may contain gluten. It is important to be aware that barely, malt, and rye are not typically declared as allergens. Look for a gluten-free label (many tea companies label the gluten-free status of their teas) and always contact the manufacturer if you are uncertain.
Always be sure to check the products label.
Store in your fridge in an airtight container for up to 3 days, or until it becomes bitter.
You can use cold brew tea instead of brewing the tea stove top if you’d prefer. Be sure to make it ahead of time and follow the brewing instructions of your tea brand.
We made this using black tea, but you can switch it up and use any variety of tea you’d like.
Frozen blueberries can be used but be aware they will impart less flavor and natural sweetness than fresh. We do not recommend using canned blueberries.
You can use an alternative sweetener in place of sugar. Generally, you can use alternative sweeteners, such as honey or monk fruit 1:1. We recommend checking with the manufactures of whatever brand sweetener you wish to use to be sure.
If you prefer an unsweetened version, follow the blueberry syrup directions but skip adding the sugar. You will still get all the goodness of the fresh blueberries and their natural sweetness.
Feel free to add zest from your lemon to the tea or mix it up and toss in some mint at the end.
![]()
EZGluten® Test Kitchen
ezglutentestkitchen@elisa-tek.com
ezgluten.com/testkitchen